How to Master the Perfect Tie Knot: Simple Tips for Tying a Tie
Tying a tie knot can seem daunting, but with practice, it becomes second nature. A perfectly tied tie can elevate your professional appearance and boost your confidence.
Learning to tie a tie is a valuable skill that can be applied in various formal and business settings. Whether you're preparing for a job interview, a wedding, or a formal event, knowing how to tie a perfect tie is essential.
With simple tips and consistent practice, you can master the art of tying a tie. This article will guide you through the steps to achieve a flawless tie knot.
Key Takeaways
- Mastering the perfect tie knot enhances your professional appearance.
- Learning to tie a tie is a valuable skill for formal events.
- Simple tips and practice can help you achieve a flawless tie knot.
- A well-tied tie boosts confidence and makes a great impression.
- Consistent practice is key to tying a tie efficiently.
The Importance of a Well-Tied Tie
In the world of business and formal events, a well-tied tie is indispensable. It's a simple yet powerful accessory that can significantly impact how others perceive us. A perfectly tied tie not only enhances our professional image but also boosts our confidence.
First Impressions and Professional Image
First impressions are crucial, and a well-tied tie can make a significant difference. It conveys a sense of professionalism and attention to detail, which is essential in business meetings, job interviews, and formal events. A perfect tie can elevate your overall appearance and make you stand out in a crowd.
Confidence Boost from a Perfect Knot
Wearing a well-tied tie can have a profound effect on your confidence. When you know you look good, you're more likely to feel good and project a positive image. This confidence boost can be particularly beneficial in high-stakes situations like job interviews or important business presentations.
When and Where Tie-Wearing Matters Most
There are several occasions where wearing a tie is not just a matter of personal choice but a necessity. These include job interviews, formal events, and business meetings. Understanding the importance of a well-tied tie in these contexts can help you prepare and make a lasting impression.
| Occasion | Tie Importance Level | Recommended Knot |
|---|---|---|
| Job Interview | High | Four-in-Hand |
| Formal Events | Very High | Windsor |
| Business Meetings | High | Half-Windsor |
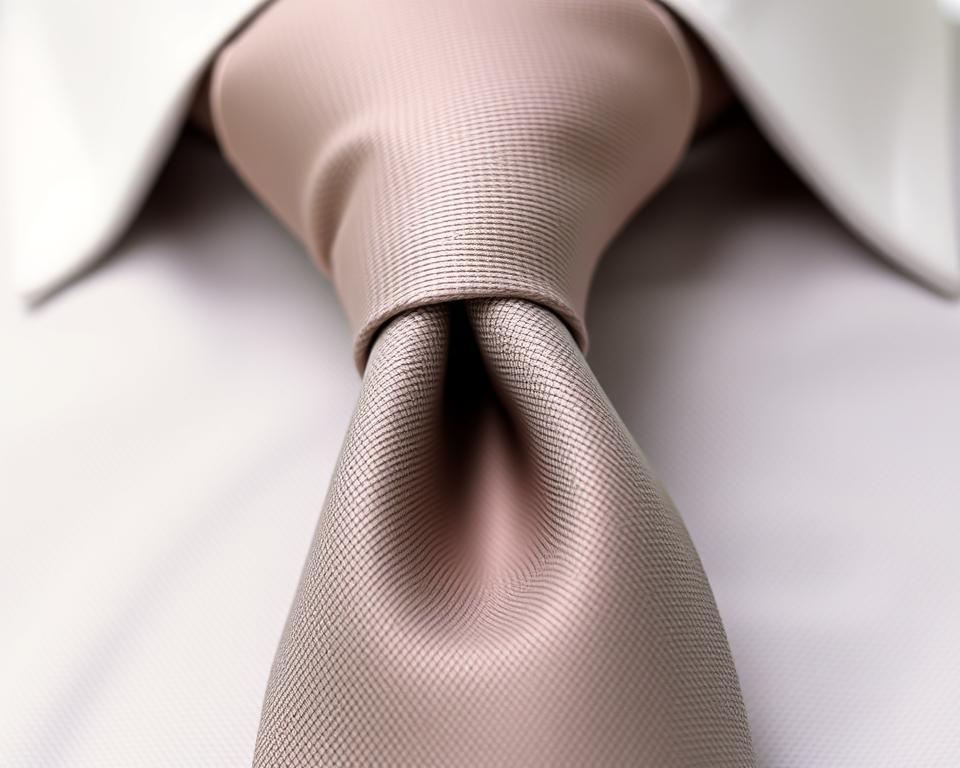
Essential Tie Terminology and Anatomy
The art of tying a tie begins with understanding its components and materials. A tie is not just a simple accessory; it's a statement piece that can elevate your entire outfit. To master the perfect tie knot, you need to know the basics of tie terminology and anatomy.
Parts of a Tie: Wide End, Narrow End, and Seam
A tie has several key parts that you should be familiar with. The wide end is the longer, broader end of the tie, which you will be manipulating to create the knot. The narrow end is the shorter end, and it remains relatively still during the tying process. The seam refers to the stitching that holds the tie together, usually visible on the back or edges of the tie.
Understanding Tie Length and Proportions
Tie length is crucial for achieving a balanced look. A standard tie is typically between 57 and 61 inches long. The right length for you depends on your height and the type of knot you plan to tie. Taller individuals may prefer longer ties to accommodate larger knots.
https://www.youtube.com/watch?v=Y86yGqivtFo
Different Tie Materials and Their Properties
Ties come in various materials, each with its unique characteristics. Understanding these can help you choose the right tie for the occasion.
Silk Ties
Silk ties are the most popular choice for formal events due to their luxurious feel and elegant appearance. They can be woven in various patterns and are generally considered versatile.
Wool and Knit Ties
Wool ties are ideal for colder seasons, offering a textured look and feel. Knit ties, made from wool or silk, provide a more casual, textured appearance and are suitable for less formal occasions.
Polyester and Microfiber Options
Polyester ties are durable and easy to maintain, making them a practical choice. Microfiber ties are known for their softness and resistance to wrinkles, offering a modern alternative.
| Material | Characteristics | Best For |
|---|---|---|
| Silk | Luxurious, elegant, versatile | Formal events |
| Wool | Textured, warm | Winter, business casual |
| Knit | Casual, textured | Less formal occasions |
| Polyester | Durable, easy to maintain | Daily wear |
| Microfiber | Soft, wrinkle-resistant | Modern, stylish look |
Preparing to Tie: Setup and Positioning
Tying a tie begins long before you start knotting; it starts with preparation. Getting the setup right is crucial for a smooth and efficient tying process.
Collar Position and Posture
Begin by adjusting your collar to a comfortable position. Stand up straight with your shoulders relaxed. A well-adjusted collar ensures that your tie lies flat against your shirt. As David Beckham once said, "The way you dress is an extension of your personality." Proper posture not only makes tying a tie easier but also enhances your overall appearance.
Initial Tie Placement Around the Neck
Place the tie around your neck with the wide end on your left side and the narrow end on your right. The tie should be hanging down about 12 inches below your neck. Adjust the tie so it's centered and the edges are even.
Mirror Techniques for Self-Tying
Stand in front of a mirror and adjust your position so you can see yourself clearly. This will help you monitor your progress as you tie your tie.
Hand Positioning for Beginners
For those new to tying ties, it's helpful to start with your hands positioned correctly. Hold the wide end of the tie in your left hand and the narrow end in your right. Practice this initial grip to build muscle memory.
"The devil is in the details, and tying a tie is all about the details." -
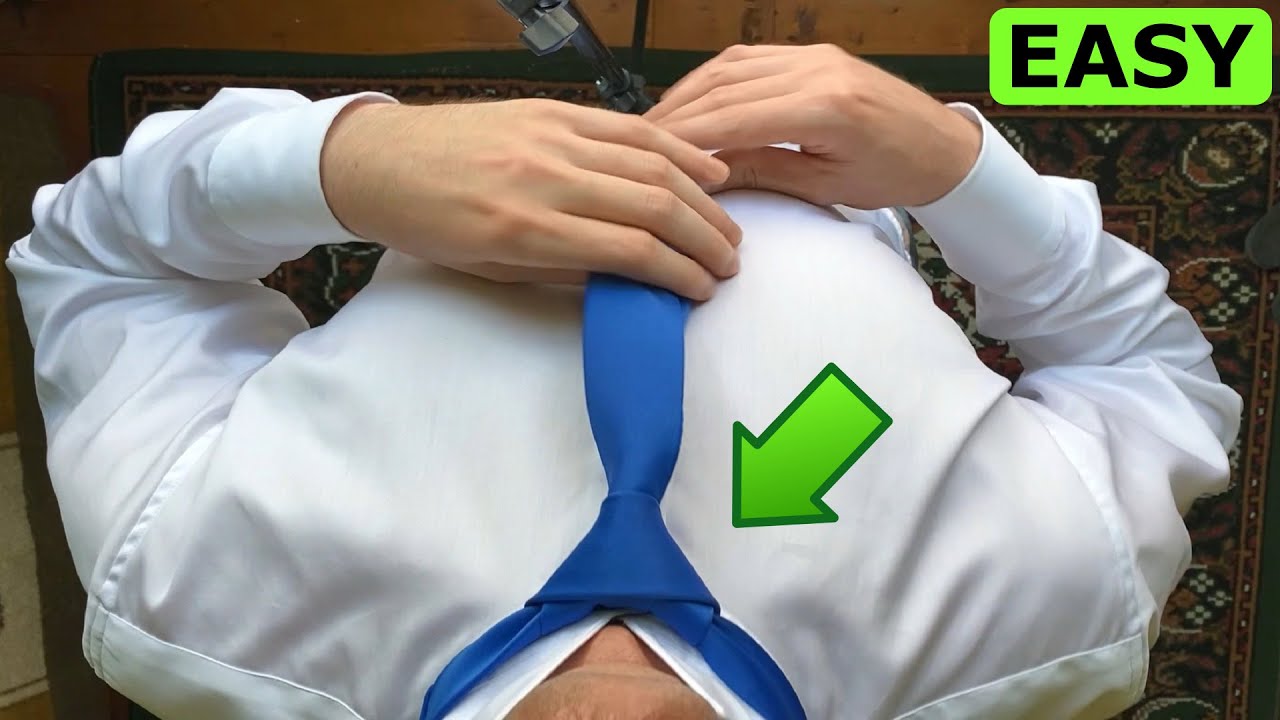
How to Tie a Tie EASY: The Four-in-Hand Knot
The Four-in-Hand knot is one of the simplest and most versatile tie knots you can learn. It's a great starting point for beginners and a reliable choice for everyday wear.
Step-by-Step Instructions
To master the Four-in-Hand knot, follow these simple steps:
Step1: Initial Position
Begin by facing a mirror and standing up straight. Place the tie around your neck with the wide end on your left side and the narrow end on your right side. The tie should be hanging down about 12 inches below your neck.
Step2: Creating the First Fold
Cross the wide end over the narrow end, so that it forms an "X" shape. This is the starting point of your knot.

Take the wide end and pass it behind the narrow end. Then, bring it up and over the knot, so that it forms a loop. You should now see the beginning of your Four-in-Hand knot taking shape.
Step4: Finishing the Knot
Pass the wide end through the loop you just created. You should now have a knot starting to form. Pull the wide end gently to tighten the knot. Adjust it so it's centered and sits comfortably under your collar.
Common Mistakes and Troubleshooting
One common mistake is not adjusting the knot properly, leaving it too loose or too tight. To fix this, simply tug gently on the wide end to adjust the tightness. Another issue is when the knot is not centered; to correct this, adjust the tie so that it's symmetrical under your collar.
When to Use the Four-in-Hand Knot
The Four-in-Hand knot is suitable for most business casual and some formal events. It's a versatile knot that works well with most collar types and shirt styles. However, for very formal events, you might consider a more elaborate knot like the Windsor.
Mastering the Half-Windsor Knot
The Half-Windsor knot is a versatile and elegant choice for formal occasions, offering a slightly wider and more symmetrical alternative to the Four-in-Hand knot. This knot is particularly favored for its ability to complement a spread or cutaway collar, making it a staple in many professional wardrobes.
Detailed Steps for the Perfect Half-Windsor
Starting Position
Begin by facing a mirror and standing up straight. Place the tie around your neck with the wide end on your left side and the narrow end on your right side. The tie should be hanging down about 12 inches below your neck.
Creating the Triangle
Cross the wide end over the narrow end, so it forms an 'X' shape. Then, take the wide end and pass it behind the narrow end. Bring it up and through the loop that you have just created in the front.
Wrapping Technique
You will now have the wide end in the front. Take it and pass it behind the knot from right to left. Then, bring it up and through the loop again, just as you did in the previous step.
Final Pull and Adjustment
Pull the wide end gently to tighten the knot. Adjust the tie so it's centered and the knot is snug against your shirt. Tuck the narrow end into your shirt and you're done.
Adjusting for Different Collar Types
The Half-Windsor knot is adaptable to various collar styles. For spread collars, it fills the space nicely, creating a balanced look. For point collars, it adds a touch of elegance. However, for very narrow collars, you might find that a smaller knot is more appropriate.
Occasions Suitable for the Half-Windsor
The Half-Windsor knot is suitable for business meetings, job interviews, and formal events like weddings. Its symmetrical shape and moderate size make it a versatile choice that works well with most dress shirts and suits.
In conclusion, mastering the Half-Windsor knot is a valuable skill that can enhance your professional appearance and boost your confidence. With practice, you'll find it becomes a go-to technique for many occasions.
The Full Windsor Knot: Elegance and Symmetry
The Full Windsor knot, known for its symmetry and elegance, is a must-know for any gentleman looking to make a statement at formal events. This knot is particularly favored for its thick, triangular shape that commands attention and exudes confidence.
Step-by-Step Windsor Knot Tutorial
Initial Setup
To begin, face a mirror and stand up straight. Place the tie around your neck with the wide end on your left side and the narrow end on your right side. The tie should be hanging down about 12 inches below your neck.
First Wrap and Cross
Cross the wide end over the narrow end, so that it forms an 'X' shape. Then, take the wide end and pass it behind the narrow end.
Creating the Perfect Symmetry
Bring the wide end up and through the loop that you have just created in the front. You should now have a simple knot starting to form. To achieve the Full Windsor's characteristic symmetry, you need to wrap the wide end around the back of the knot and then bring it up and through the loop again.
Finishing Touches
Once you have the wide end through the loop, you can tighten the knot by pulling gently on the wide end. Adjust the knot so it's centered and sits comfortably under your collar.
Tips for a Symmetrical Finish
To ensure your Windsor knot is perfectly symmetrical, adjust the edges so they are even and the knot is snug against your shirt. Tucking the narrow end into your shirt can also help keep everything in place.
"A well-tied Windsor knot is the hallmark of a well-dressed man."
Formal Events and the Windsor Knot
The Full Windsor knot is particularly suited for formal events such as weddings, black-tie events, and important business meetings. Its grandeur and elegance make it a standout choice that complements a well-fitted suit and dress shirt.
| Occasion | Knot Recommendation | Collar Type |
|---|---|---|
| Weddings | Full Windsor | Spread or Cutaway |
| Black-Tie Events | Full Windsor | Spread or Cutaway |
| Business Meetings | Half Windsor or Four-in-Hand | Point or Spread |
Additional Tie Knots for Various Occasions
Mastering various tie knots can elevate your style for different occasions. While the Four-in-Hand, Half-Windsor, and Full Windsor knots are staples, there are other knots that can add variety to your professional attire.
The Pratt Knot (Shelby Knot)
The Pratt Knot, also known as the Shelby Knot, is a versatile and moderately thick knot that works well with most collared shirts. It's a great alternative to the more common knots.
Step-by-Step Instructions
To tie a Pratt Knot, start by facing a mirror and standing up straight. Place the tie around your neck with the wide end on your left side and the narrow end on your right side. The tie should be hanging down about 12 inches below your neck. Cross the wide end over the narrow end, so that it forms an "X" shape. Take the wide end and pass it behind the narrow end. Bring it up and through the loop that you just created. You should now have the wide end on your right side. Take it and pass it behind the knot. Bring it up and through the loop again. You should now be tightening the knot. Adjust the tie so it's centered and the knot is snug against your shirt.
Best Occasions for the Pratt Knot
The Pratt Knot is suitable for most business and formal events. It's a great choice for a job interview or a networking event. The knot is also versatile enough to be worn with a variety of shirt styles and collar types.
The Oriental Knot for Slim Ties
The Oriental Knot is a simple and elegant knot that's perfect for slim ties and spread collars. It's a great choice for those who want a more understated look.
Technique for Thinner Fabrics
To tie an Oriental Knot, start by facing a mirror. Place the tie around your neck with the wide end on your left side and the narrow end on your right side. The tie should be hanging down about 10 inches below your neck. Cross the wide end over the narrow end, then take it and pass it behind the narrow end. Bring it up and through the loop. You should now have the wide end on your right side. Take it and pass it through the loop again. Adjust the tie so it's centered and the knot is snug against your shirt.
Bow Tie Basics
Bow ties are a stylish alternative to traditional ties and can add a touch of elegance to any outfit. Whether you're attending a formal event or just want to add some personality to your work attire, a bow tie can be a great choice.
Pre-Tied vs. Self-Tied Options
Pre-tied bow ties are a convenient option for those who are new to wearing bow ties or don't have the time to learn how to tie one. Self-tied bow ties, on the other hand, offer a more authentic and customizable look.
Basic Bow Tie Tying Method
To tie a bow tie, start by facing a mirror. Place the bow tie around your neck with one end hanging down about 1.5 inches below the other. Cross the longer end over the shorter end, then take it and pass it under the shorter end. Take the longer end and pass it over the top of the knot, then bring it down through the loop. You should now have a bow tie shape starting to form. Adjust the bow tie so it's centered and the knot is snug against your shirt.
Tie Care and Maintenance
Tying the perfect tie is an art, but maintaining it is a science worth learning. A well-cared-for tie not only looks better but also lasts longer.
Proper Tie Storage Techniques
Storing your ties properly is crucial to maintaining their quality. You can either roll or hang your ties, each method having its pros and cons.
Rolling vs. Hanging: What's Best for Your Ties?
Rolling your ties can help prevent wrinkles, while hanging them can maintain their shape. Consider using a tie rack for hanging or a drawer organizer for rolling.

| Storage Method | Pros | Cons |
|---|---|---|
| Rolling | Reduces wrinkles | May lose shape |
| Hanging | Maintains shape | Can cause stretching |
Removing Stains and Wrinkles
Act quickly when removing stains. For most ties, a gentle cleaning solution or a stain remover works well. For wrinkles, steaming is often more effective than ironing.
Extending the Life of Your Ties
To extend the life of your ties, consider rotation practices and take extra care when traveling.
Rotation Practices for Longevity
Rotating your ties ensures that you don't overuse any single one, allowing them to rest and recover their shape.
Travel Tips for Keeping Your Ties Pristine
When traveling, roll your ties to save space and reduce wrinkles. Consider packing them in a protective case to prevent stains and damage.
Conclusion: Perfecting Your Tie Game
Mastering the perfect tie knot is within your reach. By following the step-by-step tie tutorials and practicing the various tie knots, such as the Four-in-Hand, Half-Windsor, and Full Windsor, you'll become proficient in no time. The key is consistent practice and patience.
With the knowledge gained from this article, you're now equipped to tackle different occasions and dress codes. Whether it's a formal event or a business meeting, you'll be able to tie the perfect knot with confidence. Remember, the right tie knot can make a significant difference in your overall appearance and boost your self-assurance.
As you continue to practice and perfect your tie-tying skills, you'll find that it's not just about the knot itself, but about the statement it makes. A well-tied tie is a reflection of your attention to detail and professionalism. So, keep practicing, and you'll soon be a pro at tying the perfect tie knot.
FAQ
What is the most common tie knot for beginners?
The Four-in-Hand knot is a great starting point for beginners, as it's simple and easy to learn.
How do I choose the right tie length for my shirt?
The tip of the tie should hit the top of your belt buckle. Adjust the tie length according to your shirt collar type and personal preference.
Can I wear a tie with a casual shirt?
While ties are typically worn with formal or business attire, you can pair a slim tie with a casual button-down shirt for a stylish, modern look.
How do I prevent my tie from getting wrinkled or stained?
Store your ties properly by rolling or hanging them, and clean stains promptly. Regularly rotating your ties can also help prevent excessive wear.
What is the difference between a silk tie and a wool tie?
Silk ties are smooth, lustrous, and suitable for formal events, while wool ties are textured, breathable, and often worn during colder seasons or in more casual settings.
How do I tie a bow tie?
Start by facing a mirror and standing up straight. Cross the right end over the left, then loop the right end around the back of the left. Bring the right end up and through the loop, then tighten the bow tie by pulling on both ends.
Can I wear a pre-tied bow tie?
Yes, pre-tied bow ties are a convenient option, especially for those new to bow tie wearing. However, learning to tie a bow tie yourself can add a touch of elegance and sophistication.
How often should I clean my ties?
Clean your ties as needed, depending on wear and tear. For tough stains, consider professional cleaning or hand washing with mild soap.
What are some common mistakes to avoid when tying a tie?
Common mistakes include uneven knot, twisted tie, and incorrect tie length. Practice makes perfect, so keep trying until you get it right.